
Effective Cable Management Solutions for Outdoor TV Mounts on Brick Walls
As the popularity of outdoor entertainment continues to rise, outdoor TV mounts on brick have become a common sight in residential and commercial spaces. However, one challenge that often arises with this installation is ensuring proper cable management. The exposed cables not only detract from the overall aesthetics but also pose potential safety hazards. In this article, we will explore effective cable management solutions for outdoor TV mounts on brick, providing you with the knowledge and ideas to create a clean and organized setup.
I. Importance of Cable Management for Outdoor TV Mounts on Brick Walls
A. Enhancing Aesthetics and Durability
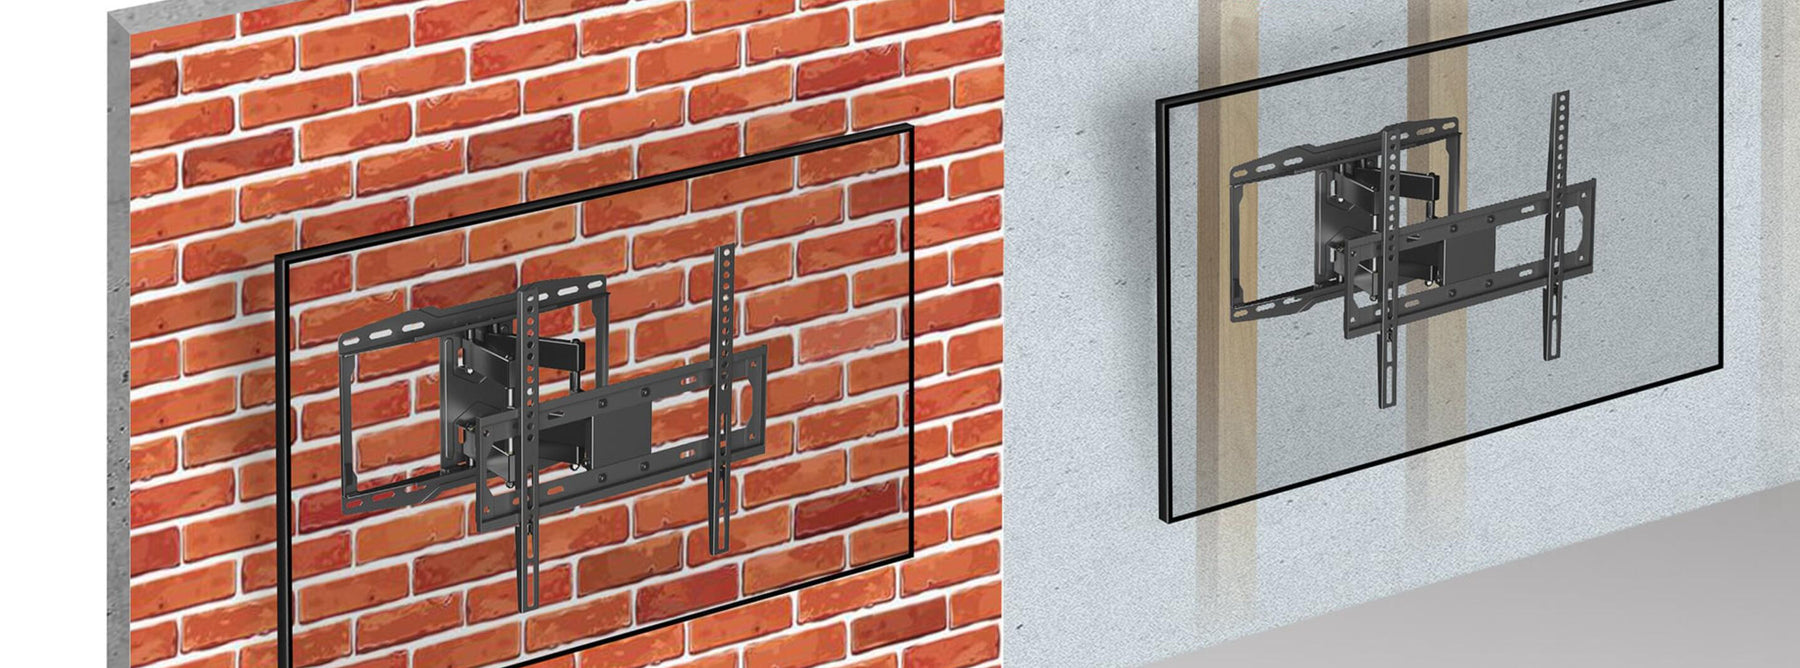
When installing an outdoor TV mount on a brick wall, incorporating cable management solutions is crucial to maintaining a sleek and visually appealing appearance. Outdoor TV Mount brick applied is installed similar to common TV mount. By concealing or organizing the cables, you can create a neat and clutter-free setup that enhances the overall aesthetics of your outdoor entertainment area. Additionally, secure cable management protects the wires from outdoor elements, thus ensuring their durability and preventing potential wear and tear over time.
B. Minimizing Safety Hazards
Exposed cables pose multiple safety risks, especially in outdoor environments where weather conditions can be unpredictable. Tripping hazards are a significant concern, potentially leading to injuries or damage to the cables themselves. Efficient cable management systems eliminate these risks, keeping the cables out of harm's way and minimizing the chances of accidents.
II. Cable Management Solutions for Outdoor TV Mounts on Brick Walls
A. In-Wall Cable Management Systems
One of the most effective and aesthetically pleasing ways to manage cables for outdoor TV mounts on brick walls is by utilizing in-wall cable management systems. This approach involves routing the cables through the wall, ensuring they are concealed and protected. Here's a step-by-step guide to installing an in-wall cable management system:
Step 1: Preparation
a) Plan the routes: Determine the optimal paths for routing the cables from the TV mount to the desired power source and other necessary connections.
b) Acquire the necessary tools: You will need a cable fishing tape or rods, a stud finder, a power drill, a drywall saw, and cable management accessories such as wall plates and cable clips.
Step 2: Identifying the Mounting Area
a) Use a stud finder to locate the wooden studs behind the brick wall. This step is crucial for identifying safe areas to create a pathway for the cables.
b) Mark the locations of the studs with a pencil to guide you during the installation process.
Step 3: Creating the Cable Pathway
a) Use a power drill to create a small pilot hole in the marked stud locations.
b) Insert the cable fishing tape into the drilled hole and carefully guide it through the wall, ensuring it remains straight and aligned with the desired route.
c) Once the tape reaches the desired endpoint, tape the necessary cables to it and pull them back through the wall until they are fully routed.
Step 4: Installing Cable Management Accessories
a) Cut holes in the wall at both the starting and endpoint of the cable pathway using a drywall saw.
b) Install wall plates or cable pass-throughs on the holes to provide a clean, finished look and protection for the cables.
c) Secure the cable clips to the wall along the cable pathway, providing additional support and organization.
B. Cable Raceways
Where in-wall cable management is not feasible or desired, cable raceways offer a convenient alternative. These plastic or metal channels can be mounted on the surface of the brick wall, allowing you to neatly run and conceal the cables. Here's how to install a cable raceway:
Step 1: Planning and Preparation
a) Determine the route you want the cables to take from the TV mount to the power source or other connections.
b) Measure the required length of the cable raceway and acquire the necessary quantity.
Step 2: Marking and Mounting the Raceway
a) Use a pencil or masking tape to mark the desired position of the cable raceway on the brick wall.
b) Ensure the area is clean and free from any dirt or debris.
c) Use appropriate anchors and screws to attach the raceway securely to the wall, ensuring it lies flush against the surface.
Step 3: Routing Cables
a) Insert the cables into the cable raceway, ensuring they are organized and positioned neatly.
b) If necessary, use cable ties or zip ties to secure the cables to the raceway, preventing them from sagging or becoming entangled.
III. Additional Tips and Considerations
A. Weatherproofing
Since outdoor TV mounts and cable management systems are exposed to various weather conditions, it is essential to utilize weatherproof materials. Opt for cables, connectors, and cable management accessories specifically designed for outdoor use to ensure they can withstand moisture, UV radiation, and temperature fluctuations.
B. Professional Assistance
If you are uncertain about installing cable management systems yourself or lack the necessary tools, consider hiring a professional contractor with experience in outdoor installations. They can ensure proper installation and provide insights tailored to your specific requirements.
Outdoor TV mounts on brick walls provide a fantastic way to enjoy entertainment in the open air. To maintain an organized and visually appealing setup, efficient cable management is crucial. Whether you opt for in-wall cable management systems or cable raceways, these solutions play a vital role in enhancing aesthetics, durability, and safety. With proper planning and installation, you can achieve a seamless cable management solution for your outdoor TV mount on a brick wall, ensuring a pleasant and enjoyable outdoor entertainment experience.
Popular TV mount collections at USXSTAR:
Explore more TV mounts at USXSTAR:
Full Motion TV Wall Mount 82 Inch